How to Add New Users to the ZKTeco Facial Recognition Clock
Summary
This document addresses work instructions for how to add new users to the ZK Facial Recognition clock.
How to Add a New User
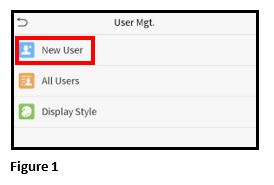
1. Click User Mgt. on the Main Menu and select New User (Figure 1).
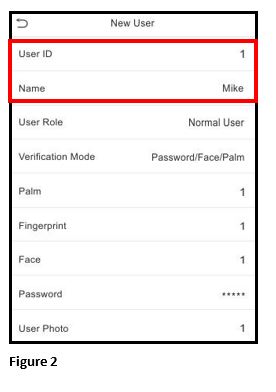
2. Enter the User ID and Name (Figure 2)
a. User Name may contain 17 characters.
b. The User ID may contain 1-9 digits by default.
c. During the initial registration
Setting the User Role
There are two types of user accounts: the normal user and the super admin. If there is already a registered administration, the normal users have no rights to manage the system and may only access authentication verification. The administrator owns all management privileges. If a custom role is set, you can also select user defined role permissions for the user.
1. Click User Role to select Normal User or Super Admin (Figure 3).
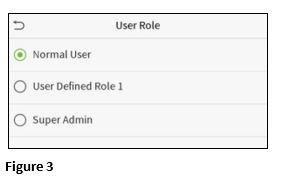
Note: If the selected user role is the Super Admin, the user must pass the identity authentication to access the main menu. The authentication is based on the authentication method(s) that the super administrator has registered.
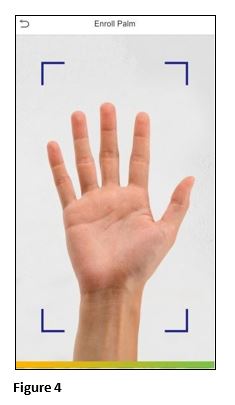
Register Palm
1. Click Palm to enter the palm registration page. Select the palm to be enrolled (Figure 4).
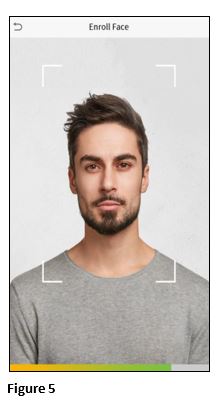
Register Face
1. Click Face to enter the face registration page. Please face the camera and stay still during face registration (Figure 5).
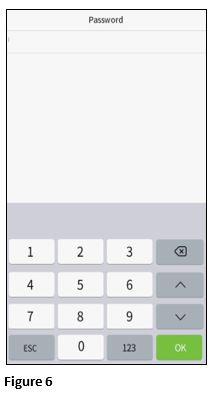
Register Password
1. Click Password to enter the password registration page. Enter a password and re-enter it (Figure 6).
2. The password may contain one to eight digits.
3. Click OK.
4. If the two entered passwords are different, the prompt “Password not match” will appear
Register User Photo
When a user registered with a photo passes the authentication, the registered photo will be displayed.
1. Click User Photo
2. Click the camera icon to take the photo.
3. The system will return to the New User interface after taking the photo.
4. While registering a face, the system will automatically capture a picture as the user photo. If you do not want to register a user photo, the system will automatically set the picture captured as the default photo.
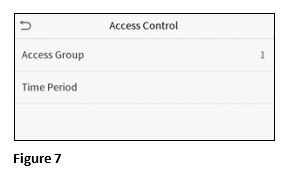
Access Control Role
User access control sets the door unlocking rights of each person, including the group and the time period that the user belongs to.
1. Click Access Control Role and Access Group (Figure 7).
2. Assign the registered users to different groups for better management.
3. New users belong to Group 1 by default and can be reassigned to other groups. The device supports up to 99 access control groups.
4. Click Time Period and select the time period to use.