How to Manage Roles in tmsConneXion v4
Summary
This document addresses how to manage roles and create Custom Roles in tmsConneXion v4.
Managing Roles
While tmsConneXion v4 has three default Roles, Payroll Manager, Supervisor and Employee, Custom Roles can be built by those with rights (Payroll Manager and Custom roles with rights) and assigned to employees as needed.
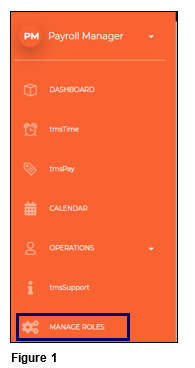
1. From the menu, click Manage Roles (Figure 1).
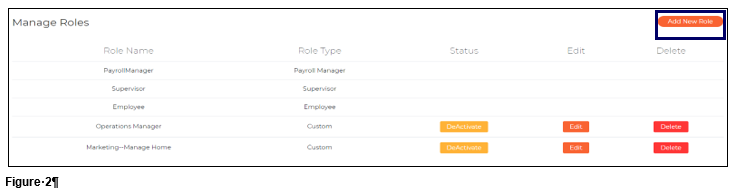
2. The Manage Roles screen will open and will display all Roles that have been established; please note that Payroll Manager, Supervisor and Employee cannot be deactivated, edited or deleted. New Roles may be added to customize what employees will have access to. To add a new roll, click Add New Role (Figure 2).
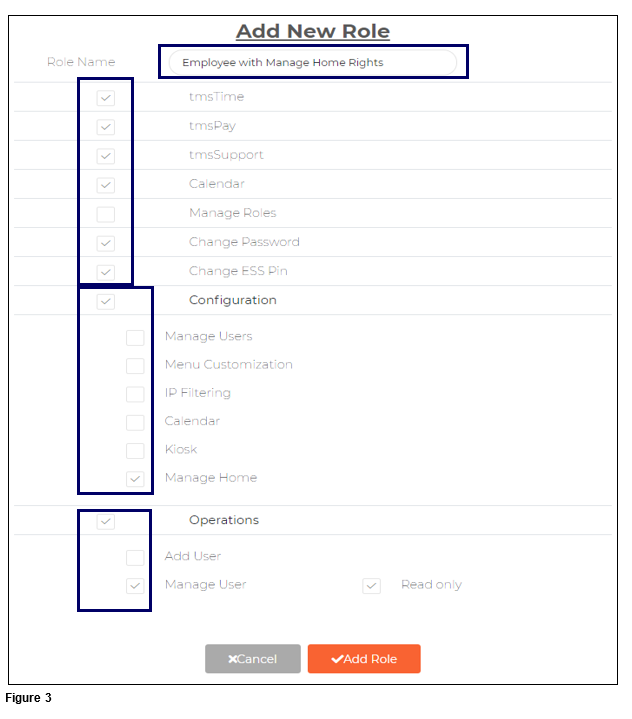
3. Name the Role and then check the menu options the new Role will have; upon checking both Configuration and Operations, more options will be available. Click Add Role when complete and the new Role is ready to be assigned (Figure 18).
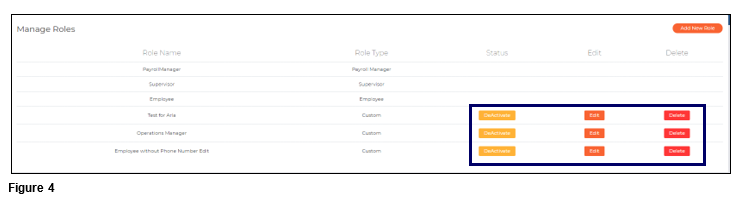
4. To Edit, change the Status or Delete a Custom Role, use the appropriate buttons (Figure 4).
a. Deactivate will not remove the Custom Role from the list, however it will not be an option when selecting Roles for an employee.
b. Edit allows the user to make changes to the Custom Role.
c. Delete removes the Custom Role permanently.
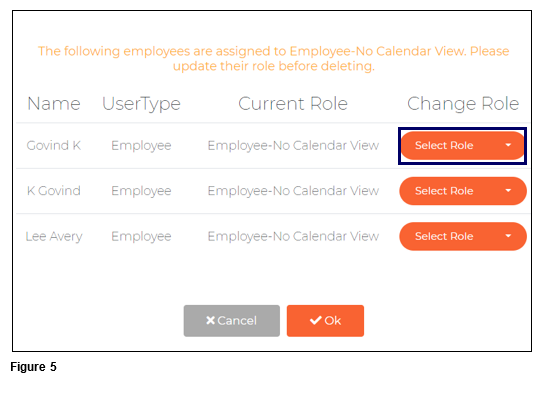
5. If a Role is Deactivated or Deleted, a list of employees with the Role will display. The Payroll Manager will need to change the Role of each user using the dropdown arrow in the Change Role column (Figure 5).